We are inclined to take photographs of anything on the computer screen. Such images are what are referred to as screenshots. We add a sarcastic heading, leave a receipt to a friend or describe a technical malfunction. With a good tool, it is much easier. By 2024, the entire screen shot software market itself was more than $9.5billion. Analysts believe it will soar to over 17.3billion by 2029. That demonstrates the number of individuals who require these tools in the workplace, in school, or for simply creative tasks. Many office employees complain that annotated screenshots make them write up to 30% quicker than plain text does.
This guide will present you with the most helpful snipping tools for Mac, whether in free or easy to use applications or the mighty ones that cost you a lot.
What’s a snipping tool?
A snipping tool is simply a screen shot tool – a snipping tool is simply virtual scissors. It allows you to take whatever you see on the screen of your Mac, rather than use paper. You may get hold of the entire screen, a single window or a box dragging around an area. Snipping tools are also good to doodle on the picture immediately you take it. You are able to append arrows, text or blur personal information before the sharing.
The reasons why snipping tools for Mac users should have snipping software.
Mac already has a simple way to take a screenshot (which we will discuss later), but most of the users require more strength.
- School: A pupil may then cut a chart of a webpage and make notes on a project.
- Work: A bug can be taken, circled and sent to IT by an employee.
- Share: You may desire to go through a lengthy recipe and copy all the text and place it in a single picture.
A special snipping utility will allow you to do all that in a short time and in a clean manner without an independent photo editor.
How to take a screenshot on the Mac (Inbuilt Shortcuts)?
The first one is that you do not have to download anything, Mac already has powerful built-in shortcuts.
- Whole screen: Command (⌘) + Shift + 3. It snatches all that appears on your screens and stores it on your desktops.
- Area: Command (⌘) + Shift + 4. The cursor turns a crosshair. Draw to indicate your region, release and it captures a screenshot.
- Single window: Command (⌘) + Shift + 4, followed by Spacebar. Your cursor becomes a camera. Pass the cursor over any window, the window changes to blue, click and you have just the window with a nice shadow.
- Screenshot menu: Command (⌘) Shift + 5. At the bottom of the screen appears a small menu. You may select to take either the entire screen, a window or part. It also allows you to capture a video of the screen and even timer.
That is the inbuilt feature of easy snaps. Need some extra features, such as editing, cloud storage, OCR, then it is time to consider a third-party application.
10 Free and Paid Snipping Tools for Mac
The following are the top 10 snipping tools for Mac that outperform the default tools.
1. CleanShot X
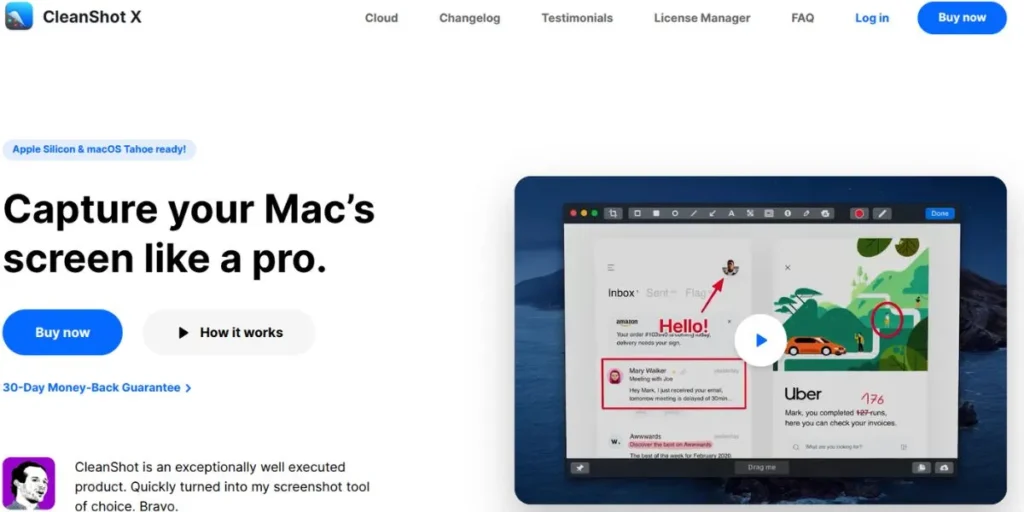
CleanShot X is among the best snipping tools for Mac. It is a highly popular single tool that is Mac-specific. It is quick, sleek and it is loaded with features. The screenshot will give you a window that will enable you to edit, save or drag to other areas. It even can conceal your desktop icons at the press of a button and leave the capture clean and professional-looking. In addition, it has the ability to record screen shots and GIFs, as well as, capture long scrolling web pages.
Key Features:
- Screen capture (video/GIF), screen recording and screenshot export all Universal.
- Removes desktop images of clean captures.
- Floating quick-note / copy / save.
- Inbuilt cloud storage to share instantly via link.
- Reading in your screen-shots with OCR.
Pros:
- The sleek design, blistering speed and a collection of strong features in a single application.
Cons:
- It is expensive and does not have a free version (only a free trial).
Pricing:
- The entry level is a one time fee of $29.
Best Use Case:
- Ideal among professionals, designers, and power users, who require taking a great number of screenshots every day and desire the quickest and the most complete tool.
2. Snagit
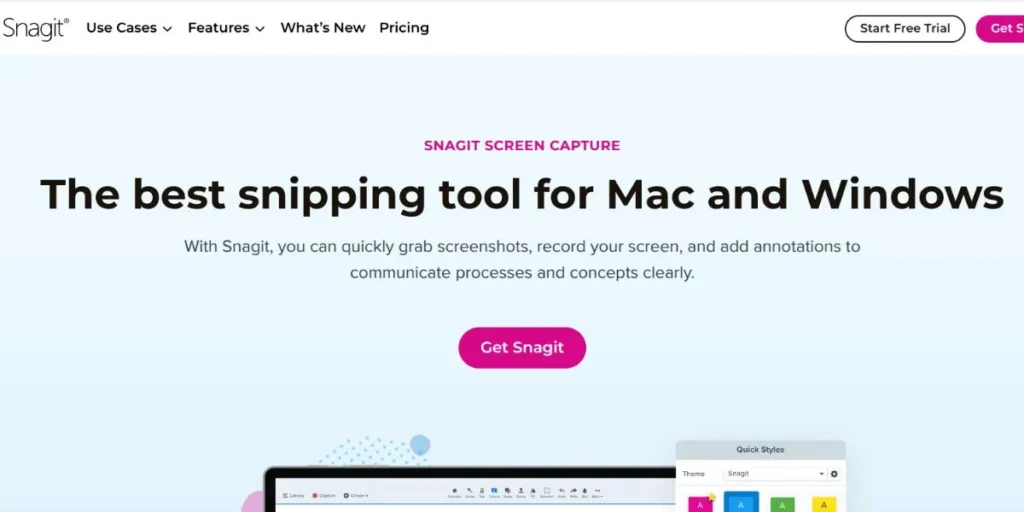
One of the oldest (and the most powerful) screen Snipping Tools for Mac that Snagit has is still in existence. It is created by TechSmith and receives a lot of affection on the part of businesses and schools. Snagit is not merely a snipping software, but it is also a picture and video editor at full scale. You may even take a screen shot and add slick effects, professional-looking arrows, step by step numbers and so on. It is able to screen record your screen, even extract text on any image using OCR. It has changed to an annual subscription as of 2025 and thus you get all the updates in one payment.
Key Features:
- Full of features editor that has stamps and templates and the option of simplify, which blurs and erases any clutter.
- Captures scrolling windows both horizontally and vertically.
- removes text in pictures (OCR).
- Enables you to record videos and GIFs in your screen.
- Picture-in-Picture recording (screen and webcam).
Pros:
- The most comprehensive editor on the market, best in tutorials.
Cons:
- Expensive; the subscription-only option can be too expensive to use on a casual basis.
Pricing:
- Paid ($39.00 per individual plan per year).
Best Use Case:
Users who require in-depth tutorials and training documents, software documentation, business and educators.
3. Lightshot

Lightshot is among the best snipping tools for Mac. It is a very small, extremely simple to use utility that is fast and completely free. Press the hotkey and then you have an option of choosing a screen area. Immediately you have an option of adding a small menu with simple texts, arrows or a box. The best of all is the upload button, because it gives a snip an instant push into the cloud and copies a small URL that auto-copy and paste (such as prnt.sc/…) to a clipboard. That is why it is the quickest means to give a photo in a chat. It is simple and it does a single activity that well.
Key Features:
- Light and fast.
- Instant cloud sharing.
- Simple annotation tools include: text, arrow, line, pen.
- Is able to search similar images via Google.
Pros:
- Absolutely free, extremely convenient, the fastest sharing tool.
Cons:
- So easy; no scrolling capture, no video recording, no sophisticated editing.
- Pricing: Free.
- Best Use case: It is best for students and other general users, who need to send a screenshot quickly to a chat or forums.
4. Monosnap
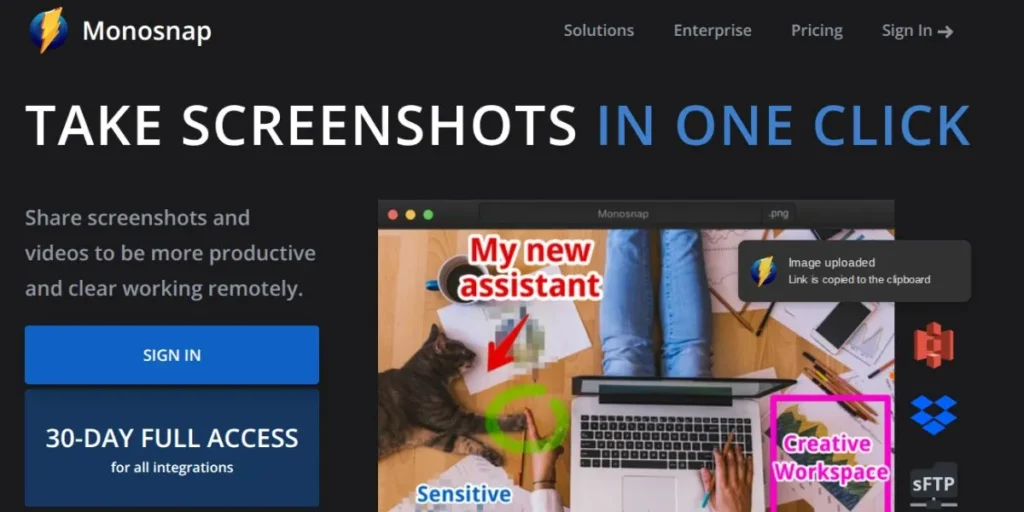
A nice freemium alternative is monosnap. It provides you with a free version with solid features and a paid one with additional features. The free version is very generous: you can take pictures, screen record (with a webcam) and upload them to its free cloud. The inbuilt editor is simple and productive and the ability to add arrows, write, blur, and even 8x enlarger in order to tweak pixel selections is easy and productive. You can upgrade and receive additional storage and connect to Dropbox or Google Drive.
Key Features:
- Screen recorder, screen capture, online storage.
- 8× enlarger for pixel tweaks.
- Great editor, blurred arrows, text.
- The paid version is connected to third-party storage (Google drive, dropbox, etc.).
Pros:
- Most generous free tool that has the ability to record the screen; best free in general.
Cons:
- The free version will only be uploaded to the personal cloud of Monosnap.
- Pricing: Freemium (Free plan is awesome; Pro plan $2.50/month).
- Best Use Case: Teams and individuals that require one free tool to make video recording and screenshots.
5. TextSniper
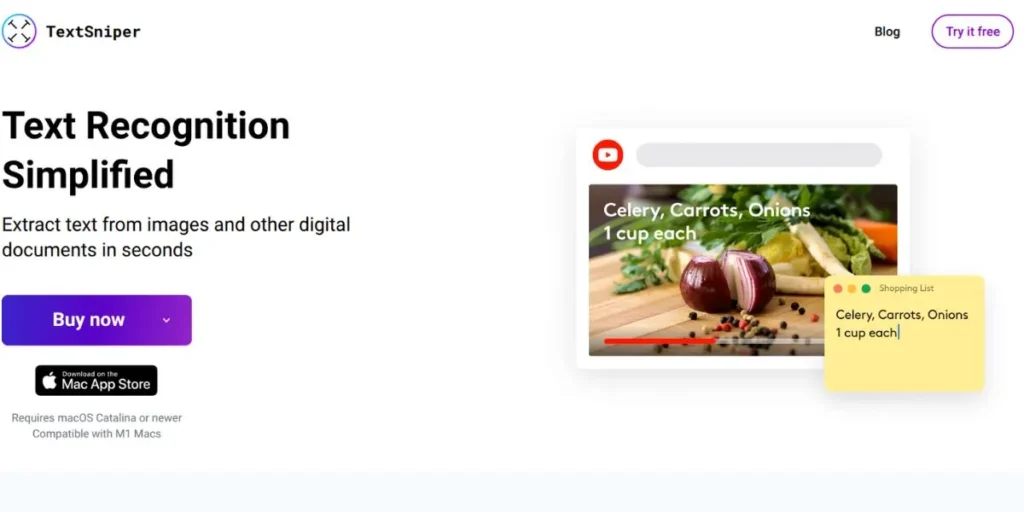
TextSniper is among the best snipping tools for Mac. It is a completely new type of tool. It does not save images, it scans text in images. It lives in your menu bar. Click it (or press a hotkey), turn the cross-hair as with any sniping program, highlight whatever appears on the screen–photo, YouTube video, PDF, presentation, etc–and release the mouse button and the text is copied to your clipboard. It even reads barcodes and QR.
Key Features:
- OCR scans and extracts text in any image, video or PDF.
- Very fast and accurate.
- Resides right in your menu.
- Also can scan barcodes and QR codes, offline.
Pros:
- Absolutely convenient, time-saving; buy it once.
Cons:
- It is not a universal screen capturing program; it does not save or edit pictures.
Pricing:
- Bought (one-time purchase of $9.99 on the Mac App Store).
Best Use Case:
- Students, researchers, and data-entry workers require the ability to copy text at a source that cannot be selected directly.
6. Capto
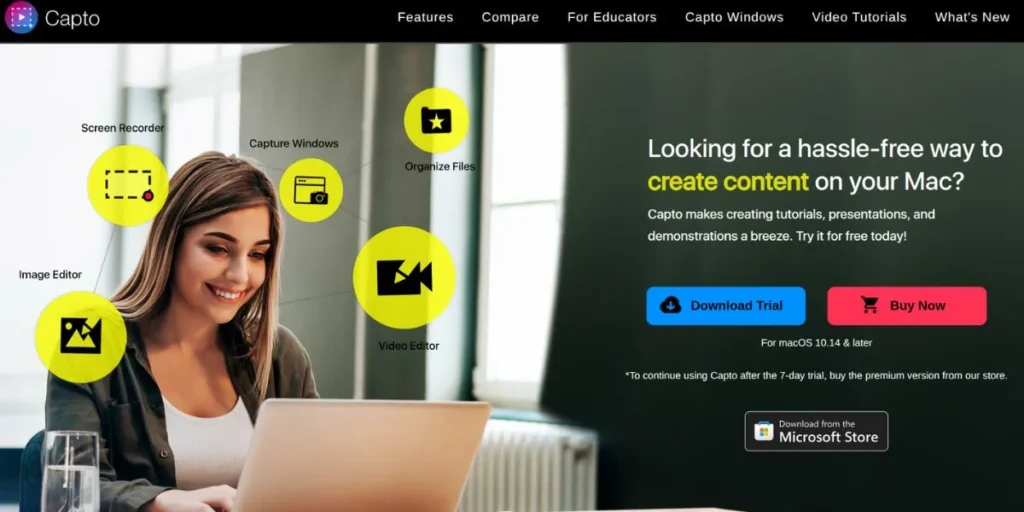
Capto– Capto is the tool that you are able to use to take screen shots, record your screen, and edit videos. It is similar to Snagit except it has only a single price tag. It stores your captures in folders thus leaving your desktop clean. You are able to take a window, a menu, or the entire screen. Video is the actual kicker, record, trim, cut, punch in notes. Even the iPhone or iPad can be connected to capture the screen.
Key Features:
- A powerful file controller that organizes your captures.
- Records videos and takes screen shots.
- Built-in video editor allows you to cut videos and leave remarks.
- Capable of screen grabbing an iPhone or iPad that is paired with it.
Pros:
- It includes screen-capture and editing as part of any one-time purchase, and it is excellent in organization.
Cons:
- Editor is slow in comparison with other applications and is slightly more complex than a basic snipper.
Pricing:
- $29.99 one‑time.
Best Use Case:
- Ideal in case of educators and video creators who desire to create tutorials and edit videos without necessarily purchasing another expensive editor.
7. Zight (previously CloudApp)
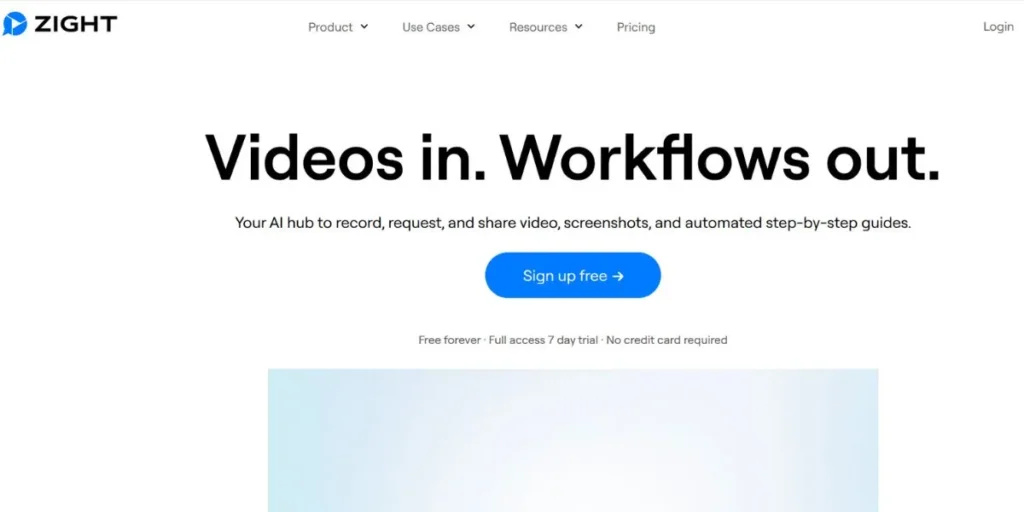
Zight is a fast, cloud-based team Tools. It is similar to Lightshot but with screenshots and videos. Take a photo or a screen-shot and it transfers directly into your Zight cloud. A link can be copied directly into your clipboard, and can be then pasted into Slack or into an email or any other project-management tool. It is my favorite among remote teams. The free tier limits you to 50 captures, which is decent enough when you do not need heavy-duty. Paid plans are unlimited captures, longer video records and increased security.
Key Features:
- Take snapshots, GIFs, and videos and post them within a flash.
- make notes on top of the screen.
- While you use your webcam, use a recording screen.
- Monitor the links that you have shared.
Pros:
- Ideal among teams, excellent about pictures and video.
Cons:
- The free tier is a bit too crammed; one has to register and remain online.
Pricing:
- Freemium- free with restrictions, Pro begins at $9.95/month.
Best Use Case:
- Ideal remote team and business with the use of Slack and the need to share visuals fast.
8. Greenshot
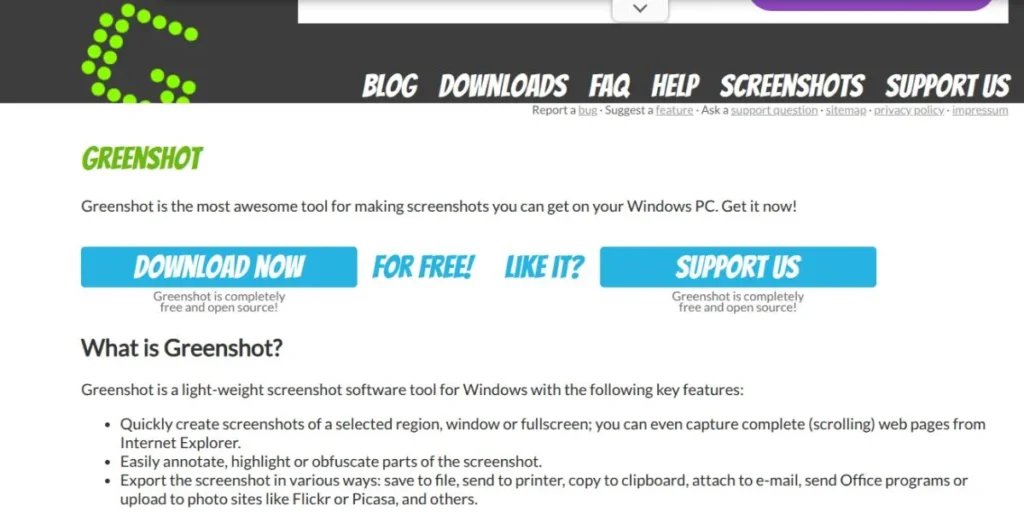
Greenshot is a traditional Windows helper, which is free and open-source and strong. With macOS the situation differs: the Mac version is not free, it resides on the App Store at a stone-throw price. It is a humble screenshot application that has simple annotation features such as arrows, text, and a blur tool. Light on resources, it is doing its job well but its MacOS equivalent is not as punchy as the Windows free version.
Key Features:
- Simple, user‑friendly editor.
- Selectively add text, arrows, shapes and blur.
- Export pics to Mail, Preview or simply save them.
- Low‑cost, one‑time purchase.
Pros:
- Extremely cheap, simple, hits the bare minimum screenshot task.
Cons:
- The Mac version is not free and is not as powerful as the Windows version.
Pricing:
- $1.99 single time purchase in the Mac App Store.
Best Use Case:
- For the old Windows users who miss Greenshot and would like a familiar low-cost no-frills alternative.
9. Skitch
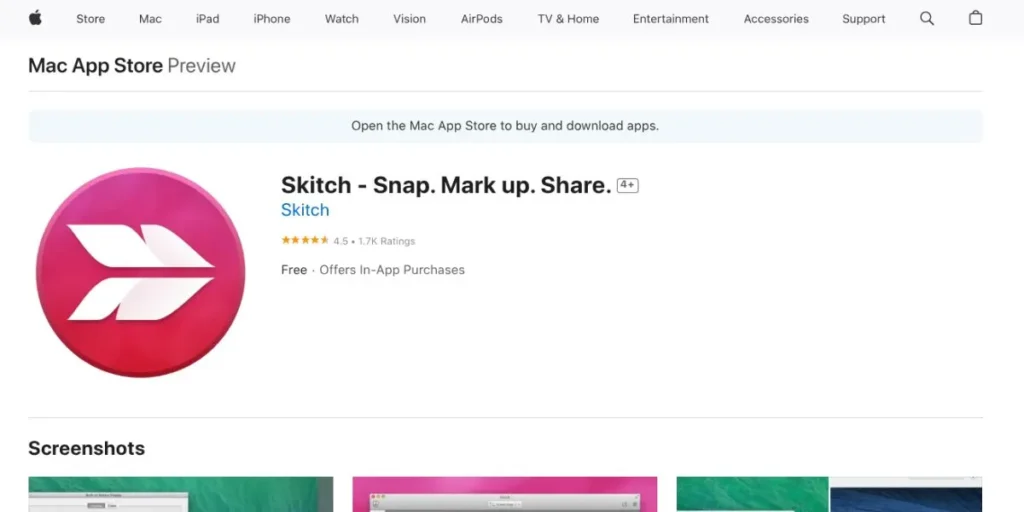
Skitch is among the best snipping tools for Mac. It was the annotation app of choice used to be on Macs. Their own product, Evernote is notorious due to its big pink arrows, text and stamps, which makes it a blast to annotate pictures. The upside? It’s free. The downside? Development stopped in 2020. It is also still compatible with more recent Macs, although bugs appear and a new macOS may cause it to break. Good as a tasty hint but take it with a grain of salt.
Key Features:
- Large and amiable annotation systems.
- Easy and fun.
- Integrates with evernote in case you have an account.
Pros:
- Free and one of the easy editors in the town.
Cons:
- Unsupported, none of the updates during many years, may crash at any moment.
Pricing:
- Free
Best Use Case:
- Suits casual, home users, who prefer free, fun annotation tools, and do not mind that it is old.
10. Mac’s Built‑in Tool
We go back to what you’ve got! The mighty menu appears on clicking Command (cm) + Shift + 5. You are able to take screen shots and even record the screen. After you snap, a small thumbnail appears in the bottom corner, which you can click on and this will give you an opportunity to get the creative juices flowing. You can make a drawing, write something by clicking, creating a shape or write your signature. It is a free in-built tool, which encompasses approximately 90 percent of what the vast majority of users require. Just remember it’s there!
This is the best Snipping Tools for Mac.
Key Features:
- Built into every Mac for free.
- May be moved to cover the entire screen, a window or a selected region.
- Screen recording can also be recorded to a video.
- Quick Look editor: sketch, text, crop–no problem.
Pros:
- It is free, fast and will be already on your machine therefore you will not have to install anything.
Cons:
- There is no scrolling capture and cloud-share.
- Price: Free.
- Best Use Case: You have a need to use a quick screenshot and simple note.
Conclusion
The Snipping Tools for Mac are quite potent to most individuals. Check the Master Command + Shift + 5 and spend money. CleanShot X The generalist of the pro and power user. One time purchase, superexpress, neat and even entertaining. TextSniper saves hours when you mostly need to copy text that can not be highlighted. Discover what best suits you and brainstorm or work much faster.
FAQs
What does mean of Microsoft Snipping Tools for Mac ?
Mac lacks a windows Snipping Tools for Mac . The nearest is the inbuilt tool which you get when you press Command + Shift + 5.
Does Mac possess a 100 percent free snipping tool?
Yep. The installed tool of the Mac is free, and Lightshot and Skitch are also free (Skitch is rather outdated).
And what can I do to get only a portion of my screen?
Press Command + Shift + 4. There is a crosshair, just move the box around on the area you desire.
Are you able to slice a long scrolling web page?
Not with the default tool. You will also require such a tool as CleanShot X or Snagit which both have the ability to scroll capture.
